Thursday, December 5, 2013

Reading Rods

Reading Rods.

They look pretty cool, right?

They really are :)

http://www.learningresources.com/product/reading+rods--174-+phonemic+awareness+kit.do?from=ac
I saw these awhile back, but their price tag deterred me.

Last week I found this set on Craigslist for $15!

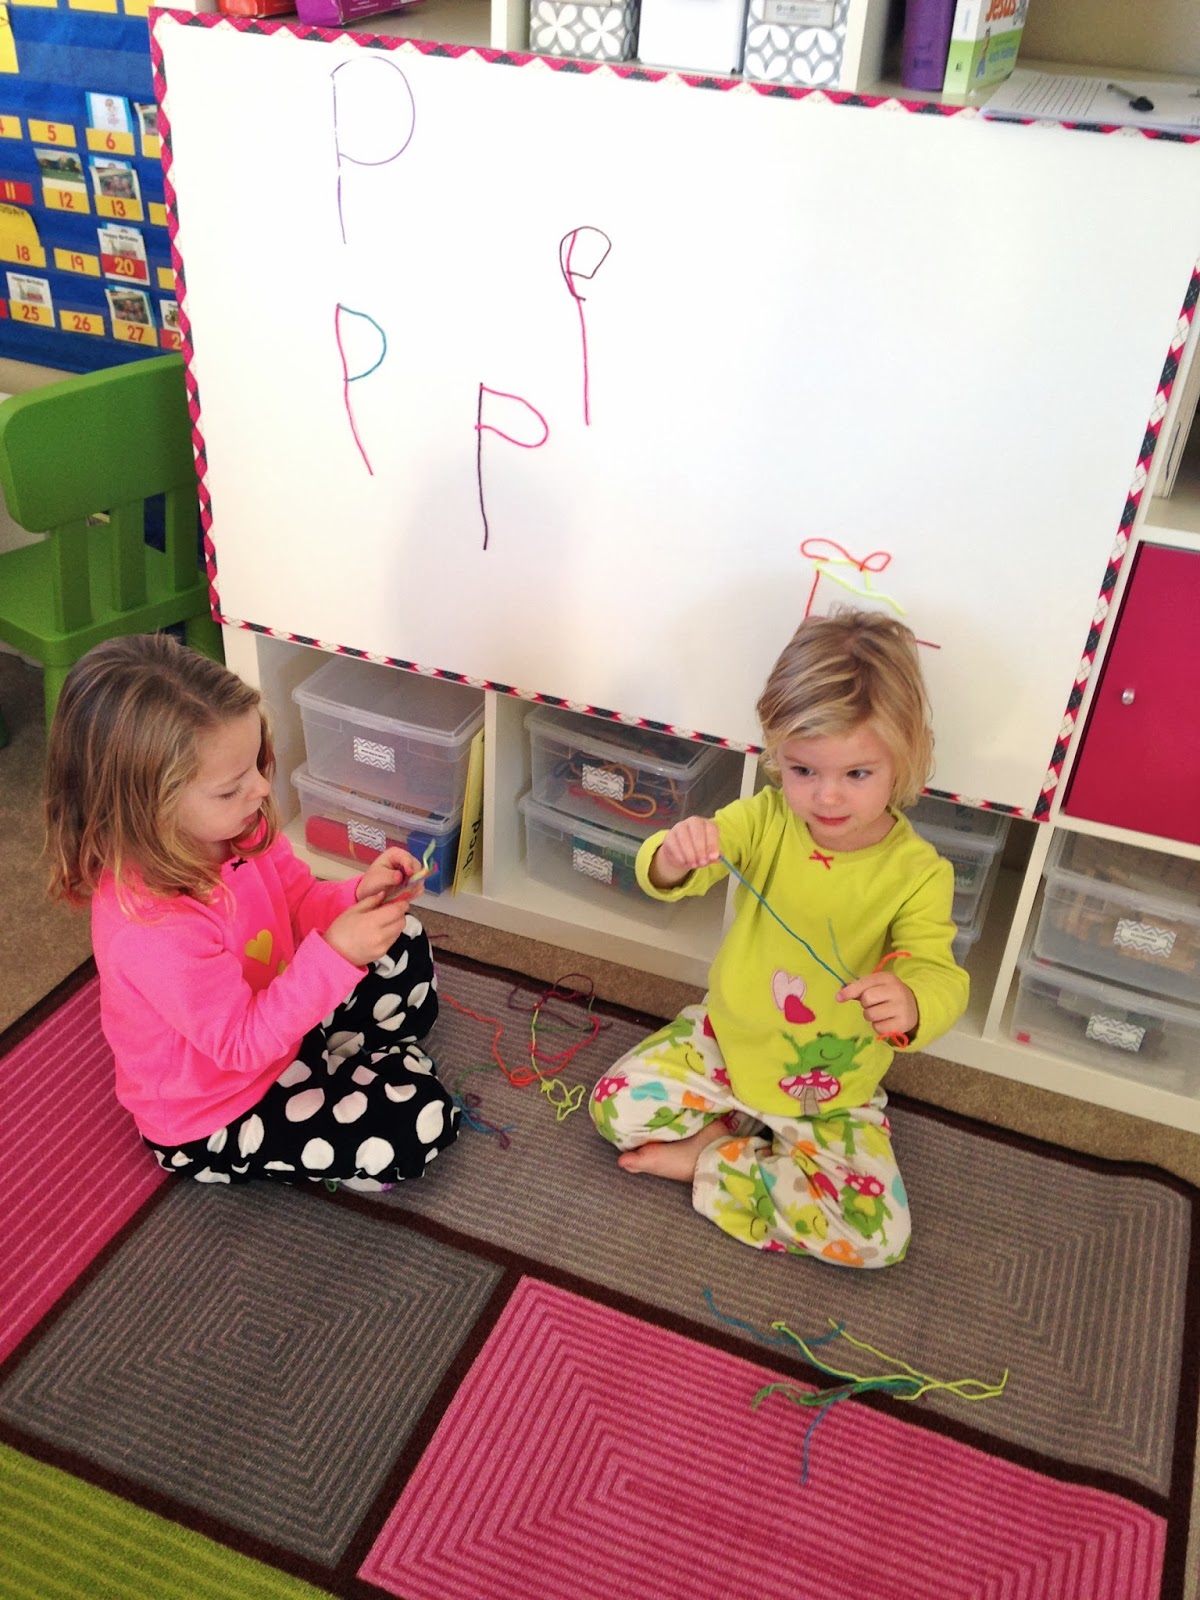
Today, the girls bugged me until I pulled everything out and pre-read through the first "lesson" and then went through it with them.


This set really fits where Adelyn currently is (initial sounds of words, etc).

However, Charlotte is completely enthralled and loved every second of Lesson 1.

Here are some of the things I love already:


1) The "kit" comes set up for 4 kids.  This is brilliant for homeschooling (or a small remedial group), especially when you have 2 that are similar ages. 

2) Brain research supports physical movement as a huge part of learning.  The ability to move sounds and words concretely is BRILLIANT and fits into so much of what I learned the years I was in the classroom about how concrete learning makes for so much stronger of a foundation for abstract learning later.

3) The snap-together cubes are even more engaging for the girls than the letters they often use because they SNAP together (they are essentially unifix cubes).

4) There is essentially a scripted lesson for parents or teachers to read through.  This includes an exploration, assessment, and extension section.  


5) It also has a blackline masters with worksheets that kids can cut and paste.  I really like this for after the lesson.  Like, the girls did the lesson this morning.  I plan for them to do this separately this afternoon after nap time.


6) There is a more "independent" part of the kit.  One of the things I really want for my girls is to use Montessori-like tools so that they can have some independence in their learning.  The "activity cards" seem to be this component.  I can already see that I'll be able to let Charlotte self-pace through the cards.  


Each  is pretty self-directed with a "Find it, Build it, Say it" so kids know how to do each alone.  Adelyn will need to do this with me, but at 5, this section could be really self-directed for Charlotte.


7) Even Adelyn (just 3 years old) can snap the cubes together, though it does take more effort for her to get them apart :)


8) The structure allows for each kid to have their own space, even when you're working together.
This is helpful - Enough said.


All the cubes come in a plastic storage container with sections!


9) The entire kit is pretty organized and has a big storage box for each of the components.

Honestly, I think anyone with small children could use these easily.  If your kiddo is in school full time, these could be a fun activity to do once-in-awhile or they could be used at night to support any word building that your kid might bring home.  In older grades, these could be used to "spell" words each night to practice a spelling or word study list.  It could be a great concrete support for any older kid who is struggling with reading or word study (spelling).

For a homeschooling parent, it seems like a good bang for your buck because it could be used in a ton of different ways.  I have two girls, one of which is a really kinesthetic learner.  However, boys would REALLY connect with a tool like this.  If you have boys, look around for these!!  Boys sometimes struggle more with literacy and a hands-on tool is a perfect connection for the way that boys brains seem to work.

I'm already in love and ordered Charlotte a more independent activity set at her level to use just 1-on-1 with her.  Amazon does seem to have better deals.  I ordered that set for $15, which is a pretty good discount!

Do you think reading rods would be helpful with your kids?

Let me know what you think of them if you give them a try!

Friday, November 29, 2013

Finishing Thanksgiving


We finished up our Thanksgiving Unit this week, with a few new activities.
We also just polished off a few old ideas.


First, if you're doing a Thanksgiving unit, your kids should TOTALLY watch
The Mouse on the Mayflower.  My girls watched it on YouTube and LOVED it.
It's actually got a ton of information in the cute little animated film.


We did lots of word-building.


We also played a lot of games.  
Below is a syllable game.


My favorite was "Where is the turkey?"
It was a great practice for Adelyn who still doesn't know all of 
her numbers by sight yet (1-10).


Daddy even joined in the fun to make some Native American dolls!


Whew!  We're heading into Christmas now :)
Hope everyone had a great Thanksgiving!

Saturday, November 23, 2013

The Mayflower

We're continuing our History of Thanksgiving unit!


Yesterday, the girls started by painting the bottom of two milk jugs, 
without knowing what we would do with them later!


Charlotte was super diligent with this task!


We came upstairs and read more pages from the virtual book.
Then, the girls watched a video about the Mayflower.
I wasn't sure how much this would hold their attention, but they really listened!
They actually begged to watch this same video after nap time.
Who knew?


We read a lot of facts about what life was like on the Mayflower.
Then, using the numbers of passengers, we did a replica with a 100s board.
There were 50 men, 20 women, and 32 children.


The girls used dried beans to represent each group.
They chose the largest lima beans for the "Men",
kidney beans for "Women", and black beans for the kids.


I asked the girls a bunch of questions about the groups.
How many women, men, children?
Were there more women or men (etc) ?
How many more children were there than women (etc)?

Charlotte's reasoning skills have really taken a bump up the last couple of months.
With "How many  more" questions, she knows automatically to discount the amount from the smaller group and count the extras.  For example, when I asked her how many more children than women, she held her fingers on two lines of 10 on the board, and then just counted the extra 12.


We learned the second verse of our song.
I wrote it on the board for Charlotte mostly (because she can sort of read it).
It has been pretty effective because she sings it each time she walks in the room.


We finished with calendar time!
We had a playdate scheduled, so we stopped and went to Treehouse Discovery.


After quiet time, Charlotte cut out the sails and flags for our Mayflowers.
She helped hole punch the sails. 
As you can see, it was pretty hard work :)
By the time Adelyn was up, we headed to a friend's house for dinner,
so we didn't actually finish out Mayflowers.
I used the sails and straw idea from this resource,


This morning, we finished our lesson.
We used a little brown play dough to stick our straws in.
I drew the two flags from the Mayflower because 
I couldn't find them anywhere to print.


Our Pilgrims fit! YAY for pretend playing tools :)


We didn't do our "Read-Build-Write" words yesterday, so I thought 
we could use our freshly-made play dough to cut and build the 3 words.


I didn't expect Adelyn to make it through all 3 words, 
but amazingly on Daddy's lap, we can do anything (with a princess dress on!)!


Finishing "mining" all of our letters before putting the letters in order!


Our 3 words: Pilgrim - Mayflower - Hat


After finishing, we tried to see how many "-at" words we could rhyme


One of the unexpected things that I really love about having my laptop, desk, and printer right in our loft is my ability to print something on the fly.  I save lots of resources, but don't use all of them.
Charlotte has been getting up from quiet time and telling me she wants to do "some school".
Instead of going to a new topic, it's really great to just be able to print a color-by-number Pilgrim, or Dot-to-Dot Mayflower, etc that will reinforce what we're learning.  This way I only print things as we need them instead of wasting things that the girls don't get to.  Win-win!


Monday, November 18, 2013

Homeschool Room

Almost immediately following the decision to homeschool, 
began a thought process about WHERE 
all of this homeschooling might take place.
We had already been "doing school" at the kitchen table a bit.
However, Joe and I thought we would probably want more space for this journey.

At first, we had envisioned using one of the rooms in our basement.
After a few warnings from Moms who had tried, I realized
that natural lighting would be important for a space you're learning in.

The first steps...
Our thoughts moved to our loft.
Our amazing neighbor helped us move our piano out of this space.
Then, with a clear (generation 1) vision, we began our ikea trips!
We bought a desk for Joe and I to share, and two smaller desks and chairs for the girls.
After finding a rug (from AFW) that fit some of the ikea colors, we bought 
a pink chair for our girlie girl and a green for our baby girl (her choice of course).


Almost immediately, we LOVED having desks in this space.
The girls woke up asking for school daily 
(weekends included - my husband was stunned).
The loft was clearly the perfect choice.
It was so close to the girls' living space (rooms) that proximity fueled motivation.

We thought the desks could be on the wall, and we would put a whiteboard on the big wall in front of them.  However, I was still a little uneasy about the limited storage chest that we had planned under the window.

Then I found this mom's blog with SUCH a similar space to ours and she solved it for me :)
http://homegrownmom.com/domestically-challenged/3642/3642 

She used a storage cube system from ikea (Expedit).
Then, she hung a whiteboard on the front of it with velcro.
BRILLIANT!
I would have never thought of it myself.
Generation 2 vision.


So, we moved the girls desks under the window, which works pretty well!
Another pro to this setup is that we still have a TON of open space in the middle of the room.

The blogger above used plexiglass for hers.
However, plexiglass is pretty expensive and scratches fairly easily.
Instead, we went to home depot and got some
It's $13 for a huge piece.  
I had the whole thing cut into 3 different boards (for free).


Panelboard is really sharp and will peel on the edges if left raw.
So, I found some patterned duct tape at Hobby Lobby that we used to edge it.
We cut it in half, then edged the board to make a really thin border.


This is our mostly finished room!  I bought some storage from the Container Store.
Plus, we added 5 pink doors that are add-ons to the Expedit system.


The plastic containers on the bottom are for activities that the girls can get themselves.
The first 3 levels are built for them to be able to access.
The top 2 are too high for them to reach.

There is still room for our calendar near the desks, which is perfect.


We are pretty happy with our workspace so far.
We love having a place for the laptop and I love having a place for my work textbooks, materials, etc.


The whiteboard is already being loved for pictionary :)


The Stuva Benches that we're using as desks are the perfect height for chairs or kneeling.
This is perfect for this age!
I was hesitant about the chairs, but the colors are great.
The desk caddies are also from the container store.


The whiteboard is already being used for writing, activities (wikki stix), etc.


I especially LOVE that we still have a great amount of carpet space for crafts and learning at the primary level since these girls will be little for awhile.

There are still cork boards, etc to be added and hung. 
I have chests and baskets that must be unloaded and reorganized into this space.
 However, the major items are done and the room is fully functional.  
We are loving it so far.

What is a priority in your room?
How did you make it happen?
Share, please :)