Sunday, March 24, 2013

Rhyming (word families)

I got this really fun idea from Family Fun Magazine for word family practice!


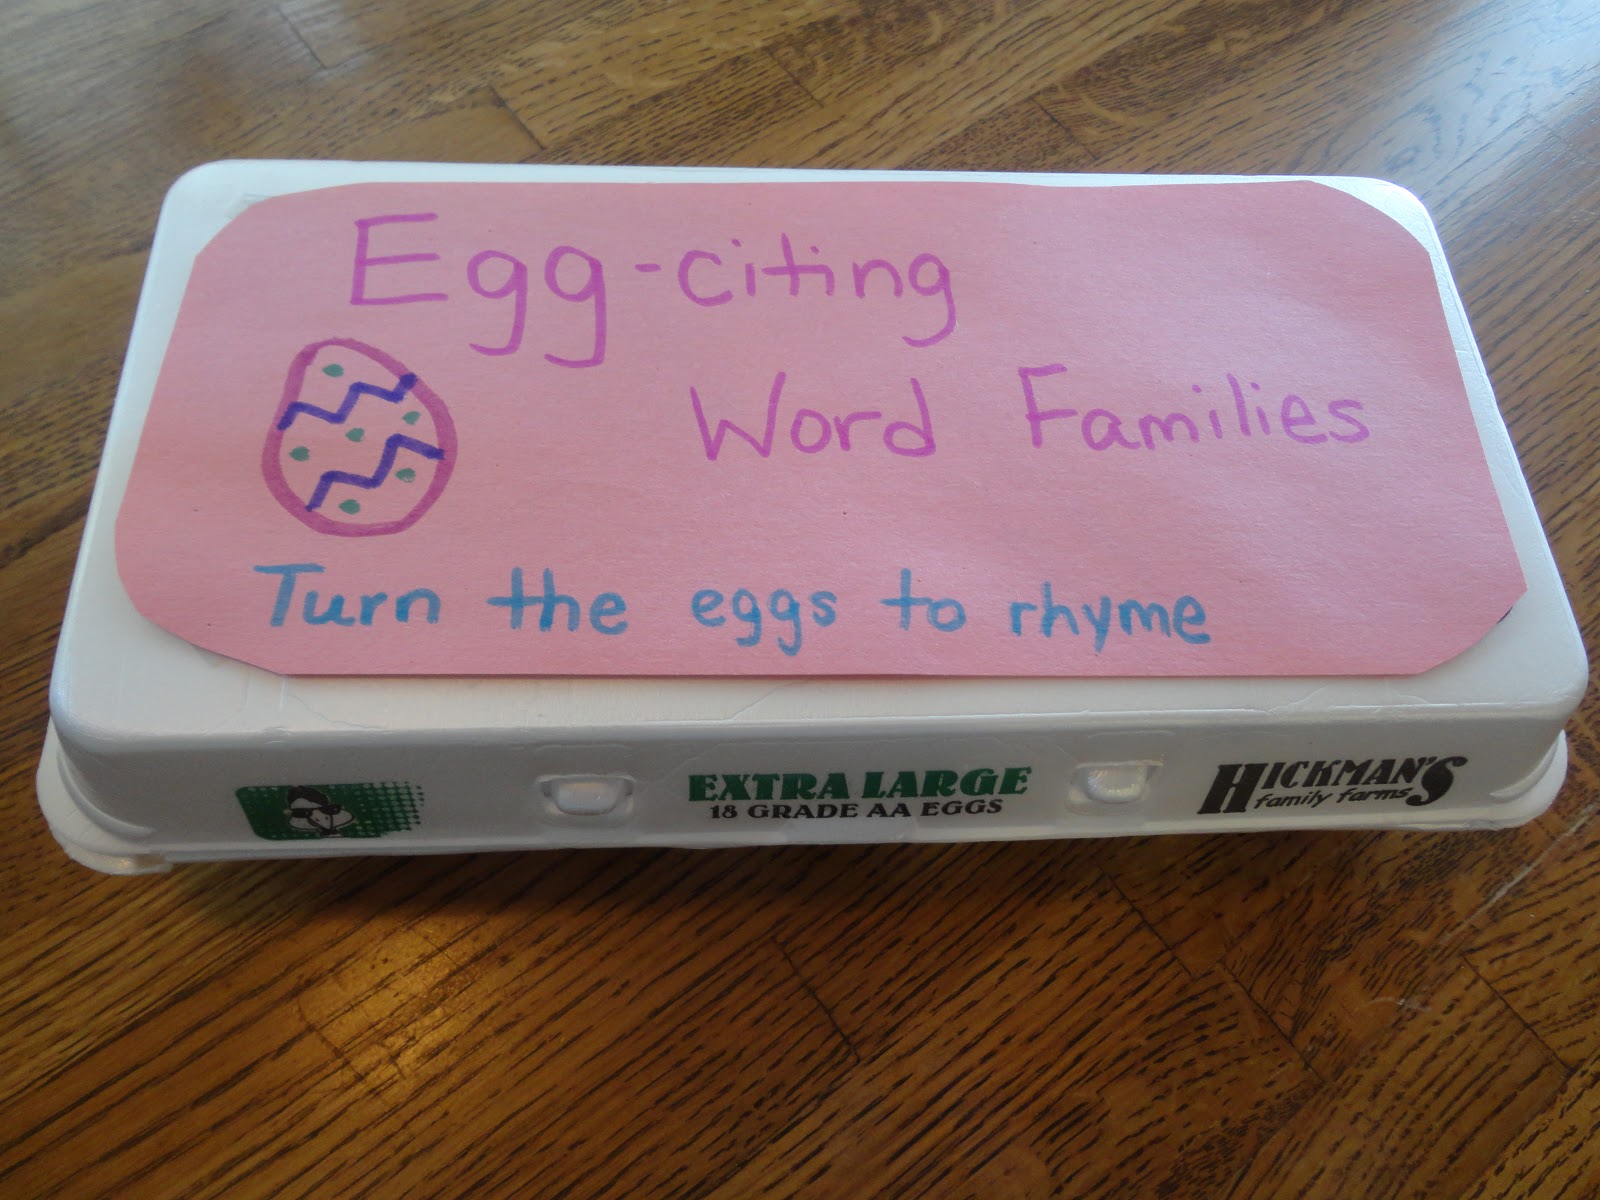
Dress up an egg container (whatever size you want/have)!

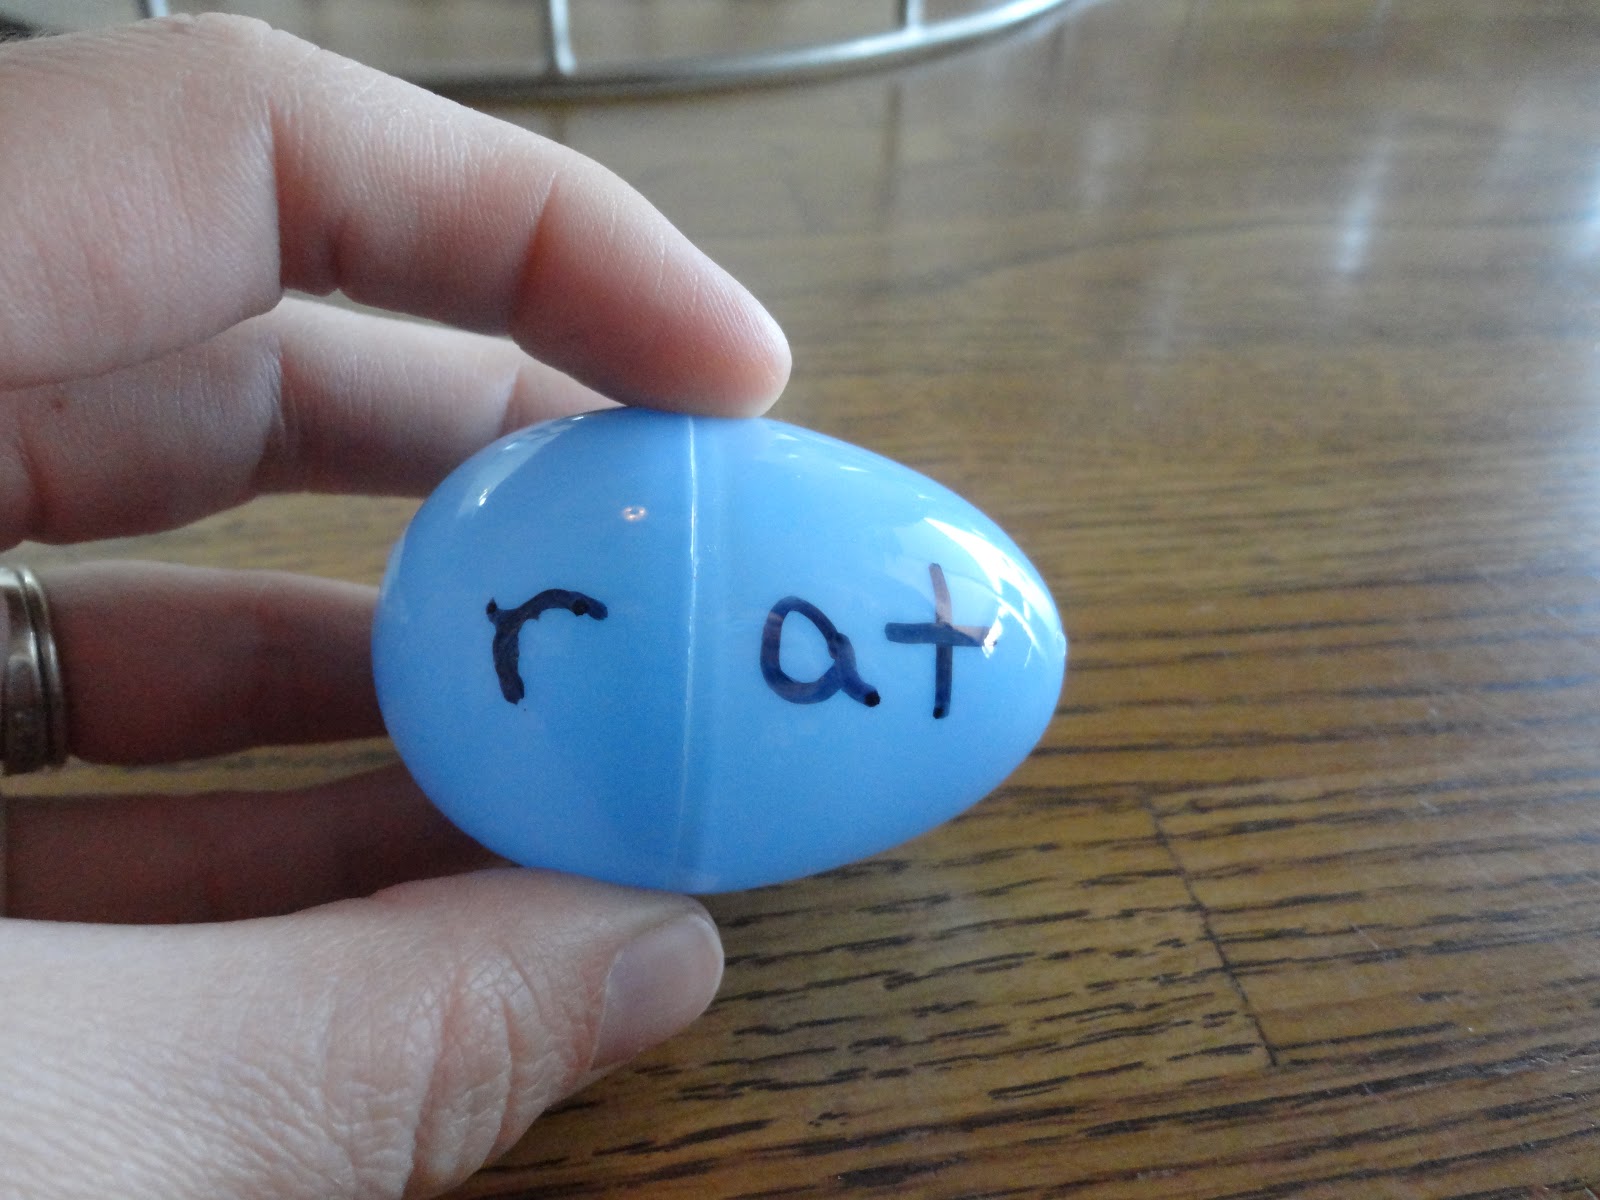
Use old plastic eggs to fill the container.  

I scrounged through ours to find all of the ones that were already detached from each other and used those (they have to be detached to "spin").


Use word endings that your child already can sound out or are pretty easy for them!

This is helpful for "practice" so if your kiddo only can sound out a few, just do 4-8 eggs.

It should be fun practice for them, so don't make it too difficult :)

I used a word families website to cheat (18 eggs wasn't easy!)

Write initial sounds on the bottom (smaller) side
Spin & write another (I fit 4 beginning sounds on each!)
These are our 18 all finished!

Friday, March 15, 2013

Planting

It's Spring!

Anybody else in heaven?

I'm almost ready to start planting our garden, but yesterday we just started with a few pots in the windowsill.


Kids love to get their hands dirty, so why not with a purpose?

Buying a pack of flower seeds at the store is cheap, but delightful for kids!

We planted three different types of flowers and some herbs.  

The girls loved how different each of the seeds were :)

There are ENDLESS amounts of things kids learn from planting things themselves.

I'm already excited about all the new learning we'll have this year just from our garden.

A few things I asked:
* What do you think plants need to grow?
* Can you "predict" which pot will have a plant first?
* Where might be a good place to put our pots? Why?
* Which color flower do you think will come from this seed?


The "science-y" learning is endless.
An unforeseen math connection popped up during this video!


I thought she would just guess a number of days, but that's what I get for thinking :)

P.S. This video was too long so I had to cut off the end with the answer, but you get the idea!

Adelyn checked on our "plants" even before she fixed her hair this morning :)

Thursday, March 7, 2013

Tear & Paste

There is so much that I don't know about little kid development.

What I do know?  

Gross and fine motor skills are a huge part of learning.  
If they weren't, we would have 3rd graders who can't tie their own shoes or cut out a picture, etc

The other day I ran across a "Cut, Fold & Tear" book for preschoolers.  


I was intrigued.

Of course I didn't buy it because I didn't think the activities looked all that difficult to reproduce.

This morning we were talking about the letter Hh that Adelyn learned yesterday.

We were creating H and h with marshmallows and I realized that I could use the above concept with our Alphabet learning.  So I did a quick google images search for "Letter H worksheets".

I decided on THIS one because it was chunky enough to fill with more paper, but there were a million choices.

I printed 3 copies (so I could model/play too!)

Each of us chose a color of construction paper and got to tearing them into little pieces. It's quite soothing :) and I realized how difficult this was for Adelyn. It actually takes some fine motor capabilities for tearing and it was great for Charlotte too (it was easier, but not "easy" per say) 

Charlotte had the most patience (of course) and even used some patterns
An unforeseen benefit is that Charlotte got to practice using glue alone

Adelyn's patience ebbed and flowed, so she would work for a couple of minutes, then run around for a few minutes.  I completely expect this, but was really proud of her that she "finished" without much prompting.  It's obvious from her final product that she was more patient in the beginning, but she's 2.  Who cares?


Charlotte's finished product (left) and Adelyn's (right).  After Charlotte wrote her name at the bottom of hers, Adelyn decided to do some of her own writing :)


Wednesday, March 6, 2013

Alphabet Sound Tubs

When I taught Charlotte letter names (around the age of 3), she didn't pick up on the letter sounds much at all.  That didn't come until later.  Your 2nd child always does things differently.  Not only is Adelyn randomly "knowing" letters that I haven't taught her, she has really picked up on some letter sounds, mostly from watching Letter Factory.

So, I'm realizing that while I'm teaching her 1 letter at a time, I guess I should do something to focus on the sound(s) of that letter too!

Geesh!  Way to make Momma work!

So I went a-searching! At Lakeshore Learning, I found this awesome letter sound tubs set that has all sorts of little things inside of a bucket for each letter.  

CUTE, right?

Yeah, well $150 later, it should be cute.


So, as usual, this thrifty teacher/momma decided to make her own.

First, I started with a container that I was going to throw away.  So far, I've chosen containers that are mostly one color so that there is minimal painting.  Then, I use some $0.57 craft paints to paint over any other colors on the container.  This raisin container took a few coats (this is a shot after the 1st coat).


After the paint dries, use a Sharpie to draw the letter(s) on the front and top of the container.  Below is a shot of a Cocoa container we used for the letter G.


 Then comes the fun part!  After teaching your child a letter and what sound it makes, go searching through the house for things small enough to fit into the container that start with that letter sound.  Put a few things inside the container and TA-DA!  Your letter container is complete.

Spend time every day or two pulling out all of the things in the letter sound container and talking about the name of each and how they sound like "G"

This is truly for Adelyn (2 1/2) but honestly, Charlotte (4) finds as much pleasure out of the scavenger hunt and using these letter tubs.  I love things that engage both of kids at once :)


At our house we found: Goofy, Giraffe, Gummy bear, Green Grapes, Giraffe Glasses, and a capital letter "G"

Good luck :)
Thursday, February 21, 2013

Helping in the kitchen

Do you remember how cool you used to think it was to help in the kitchen?

no?  You're getting old, then!

Kids LOVE to help with everyday chores like preparing food.  My girls are in HEAVEN, seriously, when I let them help me.

As an example, today we made granola.

Together they mixed EVERYTHING!
 I talked the entire time about ingredients and using a recipe and "cups", etc.  We even sounded out the word "c-u-p" with Charlotte and showed her where it showed 1 cup on the measuring cup.

Before we put in each ingredient, the girls got to taste test 
(of course not all ingredients in every recipe can be taste tested, but many can!)
Pepitas were their favorite ingredient today :)

...and more stirring
We baked the granola, and then, the most important part -
They got to EAT some fresh out of the oven...YUM!

If you have picky eaters, letting them help prepare their food really helps!

My girls have begun eating things from growing them or simply chopping them.  It's kind of amazing :)

Granola & homemade yogurt with blueberries - DElish!
Letting your kiddos help in the kitchen of course takes additional time, but it REALLY helps the time go more pleasantly for all involved :)  If you work full time, maybe only let them help on weekends?

The possibilities are endless.  My girls "compile" lasagna for me, stir, chop, sprinkle, etc

Some moms are really funny about their kids and knives.  Honestly, both of my girls have had "baby" gerber knives since they were about 18 months.  They can chop a ton of things with those little things.  My girls have their own chopping boards.  Of course they can't chop really hard things, but fruit, etc are really easy things for them to help with!

Tonight, Charlotte chopped pre-cooked chicken for dinner!

Snail Mail

The thing about having worked in an elementary school is seeing truly how many things some kiddos don't have any background knowledge about.  We both know how it happens.  Life gets busy and we forget to share with our kids little things we know about something.  

Oops - happens to the best of us!

Snail mail is just one of those things that is rather easy to make time for.

If you live far away from anybody, Grandma, a friend, etc send them things!

This is easy for us because all of our grandparents live in other states, so mailing little things like coloring pages is easy to do an always appreciated :)

The artwork of my 4 year old
The artwork of my 2 1/2 year old

My artwork - you're welcome Mom! ;)
Anytime you can allow your kids to take part in any part of normal life, they are totally excited.  They LOVE the sticky part of sealing envelopes!

Explain to them how we write the person's NAME and how we have to write where they live with an ADDRESS.  Let them help you put the STAMPS in the top right corner.  We even have a RETURN ADDRESS "stamp" and that makes the whole thing even more fun!


Let them decorate the back with stamps & stickers
 Don't forget the most important part!  Walk them to the mailbox or drive them to the post office.  Let them drop in the mail!  Ask them who is going to pick it up and make sure they know how it's going to get to Grandma :)

Ta da!  Happy Grandparents (or friends) and knowledgable kiddos!

What more could we ask for?

ABC book DIY

I already rambled on during another post about how awesome it is for kids to create their own books. 

Adelyn has been learning her alphabet.  In particular, making an ABC book can be a huge real life connection to the alphabet.  The first time I made one with Charlotte, I "winged it" one letter at a time.  For my 2nd, I got smarter :)

First, the materials I bought/grabbed were:
  • Letter stickers (200 pack) - $1 @ dollar tree
  • Poster letter pack (78 pack - $1 @ dollar tree
  • 26 ziplock bags
  • As many stickers as you have in your house :)
  • Printed pictures of important people/characters in your kids life (A-Z)
    • Some like q you can just use whatever you can think of like "queen"
  • Elmers glue
  • 1 piece of cardstock or construction paper (for a cover)
  • 14 pieces of printer paper

First, before you start making the book, setting yourself up for success by making a "grab bag" for each letter will REALLY save time!  I actually made two sets of grab bags at once and gave one to my niece.
Pack of little "sticker" capital letters
The package the bigger letters came in
Ok - lay out 26 sandwhich sized ziplock bags and use a sharpie or pen to write the letter on the outside of each bag.  Then, distribute the poster letters and sticker letters so they are on top of their corresponding bag.
Here they are sprawled across my counter (I have helpers :)
See?
 Then, put any stickers that might correspond to that letter on top too. I'm not sure about you, but we have a MASS of stickers in my home, so this was quite easy. Add the printed picture of the important people.  Then put all of the stuff in each bag.

Make the book by folding a piece of card stock and 14 pieces of printer paper on the inside.  Staple 3 times on the crease to bind it and you're done!  Don't forget to add a title and your child's name to make it their own.

For T we found tinkerbell, train, tire
This is our "A" page with Adelyn & her cousin Autumn's picture
"B" has boots the monkey and backpack (crucial people in our lives ;)
Our C page has a picture of our sister and stickers of cars
D page has our cousin Drew, Daddy, Dora, Diego & dinosaurs!
E has Elmo & Easter eggs
F has a fairy, Flounder the fish, frog, football, etc
For my 2 1/2 year old we do one page in our ABC book each week, although you could go faster or slower depending on the age of your kiddo.  We also do a scavenger hunt (as described in the post about the letter E) after we make our page.  Needless to say, we "read" the book regularly and honestly, the excitement is MUCH higher than any other ABC book we've ever owned or borrowed from the library.

She is highly invested.

All of her important people are here :)