It's been on my to-do list for about a month.
There are about a million different "how-to" blogs and videos out there on how to make a felt or flannel board. However, none of them fit exactly my purpose for the flannel board.
I really wanted a board that my girls could take and use in their own rooms during their quiet times.
I know that their free play time is a powerful time where they can really play out and solidify ideas and concepts that we've been talking about.
However, every felt board idea I found on blogs used cardboard or foam board or something similar as a base. I don't know about your kids, but my kids would bend and break that in about 5 minutes. I think that would work if I were the one primarily using the board, but that wasn't my plan. Some people used frames, but again, pointy objects with my children, alone in their rooms....disastrous!

So, after quite a bit of searching and thinking, I settled on this frame-less cork board. Each one cost me $6 (which was more than my cheap self wanted to pay, but it was perfect). Why was it perfect for us?
- It had no outside frame, so it wouldn't scratch/hurt the girls
- 14 inches x 14 inches is a GREAT size for a personal flannel board.
- It is really sturdy and has a wooden frame on the back side.
I bought flannel to cover the board from Joann's (which was on sale for $2.99 per yard). A half of yard would have been enough to make both boards for my girls, but Adelyn wanted yellow and Charlotte wanted pink. So, at $3 total, I was up to $15 for two flannel boards - not bad!
Materials:
- 14x14 cork board
- 1/2 yard of your choice of flannel (this is enough to make 2 boards)
- 1 staple gun with staples
- a hammer

I cut the fabric to be about 2 extra inches on all sides. Starting with the corners, I folded them in until they hit the corners of the board.

Then, I folded that into the board until I could go any further. You could put a staple in at this point.

Holding that corner, I folded in my sides to make a nice tucked edge.

Then, start stapling. Earlier int he board we were stapling in the middle of this frame, but we realized going almost to the edge of the fabric held better without any extra flap.
Keep working your way around the board.
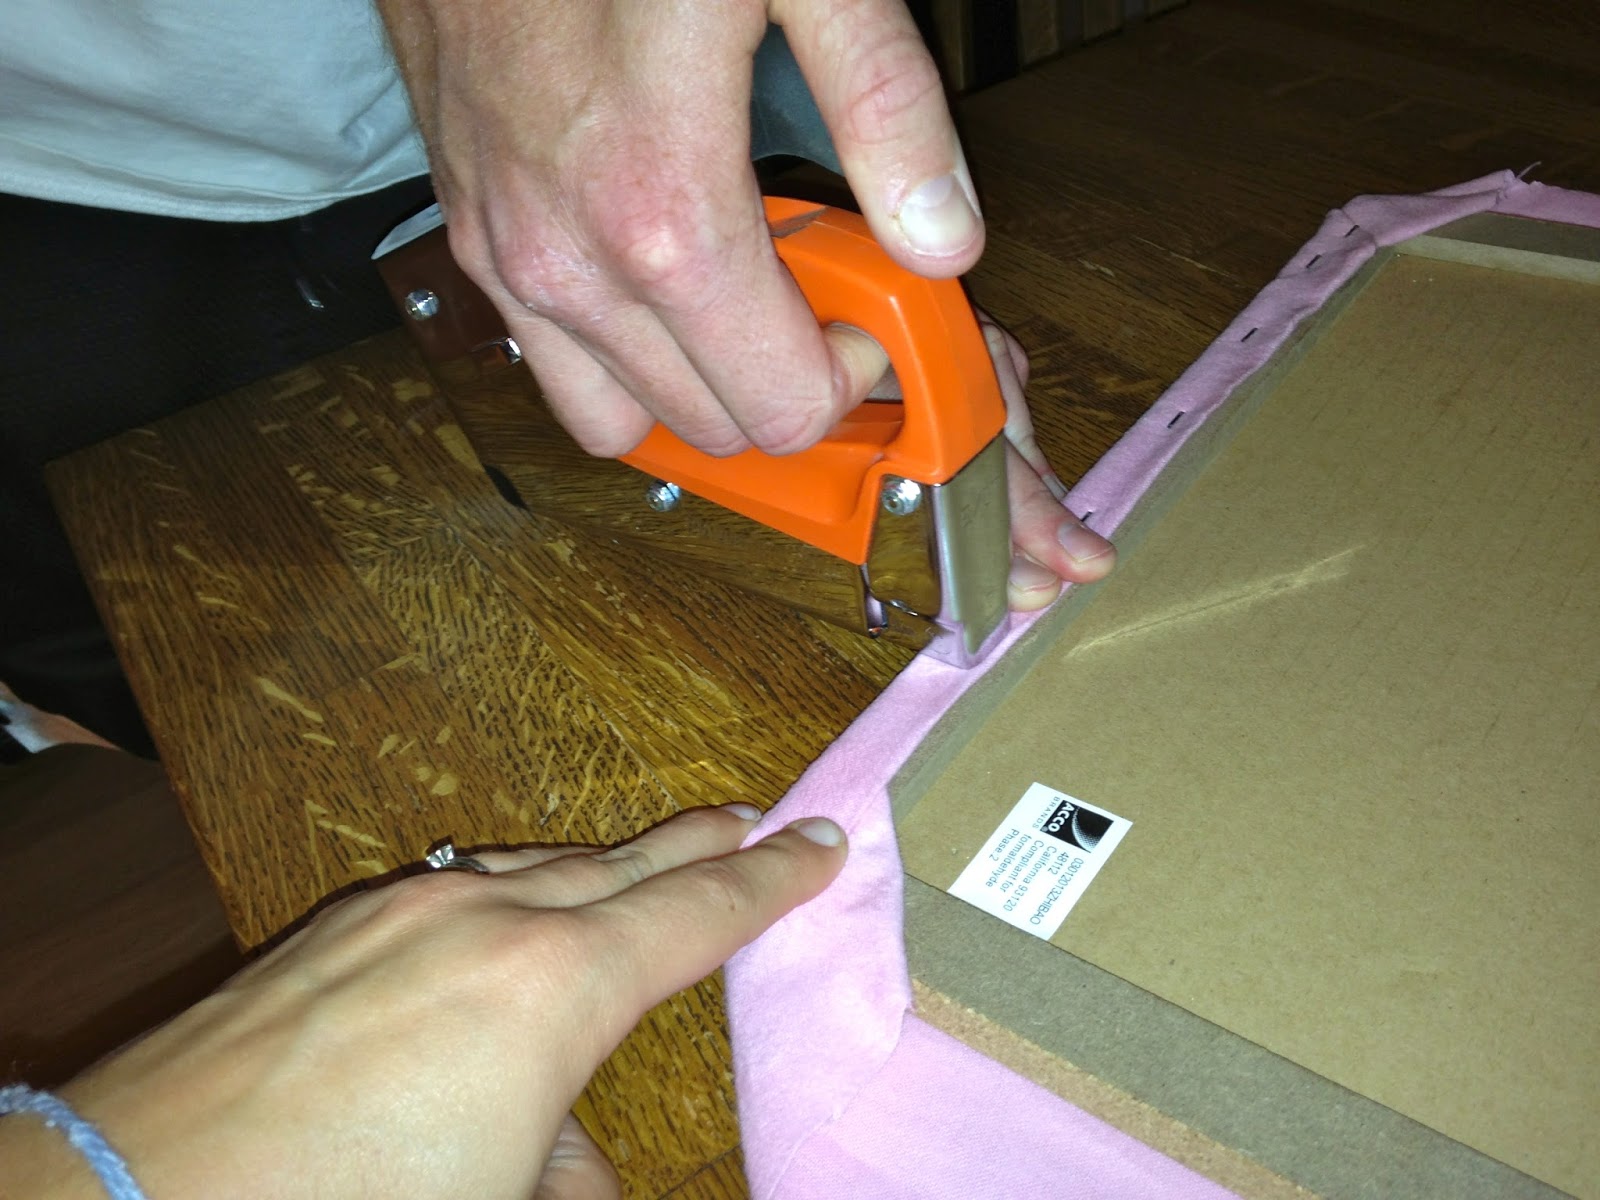
It really helps to have two sets of hands, especially around the corners. After the first two sides, be sure to keep pulling the fabric snug, but not too tight.

Because these are for my kids, we didn't want any staples sticking up even a little.
Joe hammered a lot of them an extra couple of hits just to get them so they couldn't be messed with at all.

Ta da!

No comments:
Post a Comment